To master low-light photography without expensive gear, you need to delve into the realm of exposure settings, available light sources, manual focus techniques, and post-processing enhancements. These fundamental aspects can significantly impact the outcome of your low-light images, elevating them from ordinary to extraordinary. By honing these skills, you can unlock the potential of your camera in challenging lighting conditions and capture breathtaking moments that would otherwise be lost in the shadows.
Understanding Exposure Settings
To capture stunning low-light photos without expensive gear, master the exposure settings on your camera. Understanding exposure is crucial for achieving great results in challenging lighting conditions. Start by adjusting your camera's ISO setting. Increasing the ISO makes your camera more sensitive to light, allowing you to shoot in darker environments. However, be cautious as higher ISO levels can introduce noise or grain in your photos. Experiment with different ISO levels to find the balance between brightness and image quality that suits your preferences.
Next, focus on the aperture setting. A wider aperture (lower f-stop number) lets in more light, ideal for low-light situations. Keep in mind that a wider aperture also affects the depth of field, so adjust it according to your creative vision.
Utilizing Available Light Sources
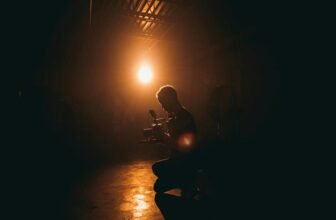
Harness the ambient light creatively to elevate your low-light photography skills. When in low-light conditions, make the most of available light sources to enhance your photos. Look for natural light streaming through windows, streetlights, candles, or even a crackling fire. Experiment with different angles and positions to see how the light interacts with your subject. Utilize the warm glow of indoor lighting or the dramatic shadows cast by a single light source to add depth and mood to your images.
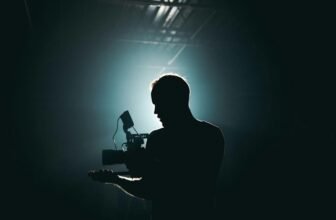
Don't be afraid to get creative with the light available to you. Use it to your advantage by incorporating it into your composition. Play with silhouettes against a bright background or capture the soft, diffused light of a cloudy day. By understanding how different light sources affect your photos, you can create visually striking images even in challenging low-light conditions.
Mastering Manual Focus Techniques
Achieve precision and creative control in your low-light photography by mastering manual focus techniques.
In low-light conditions, autofocus systems can struggle to lock onto subjects, leading to missed shots or inaccurately focused images. By switching to manual focus, you take control of where the focus lies in your composition.
Start by adjusting your lens to manual focus mode and use the focus ring to dial in the exact point you want sharp. Utilize the magnification feature on your camera to zoom in on your subject and ensure critical focus.
Additionally, consider using focus peaking if your camera offers this feature, as it highlights in-focus areas for added assistance. Practice adjusting the focus smoothly and efficiently to capture sharp images in challenging lighting situations.
Mastering manual focus techniques empowers you to create stunning low-light photographs with clarity and precision, elevating the quality of your work without the need for expensive gear.
Enhancing Low-Light Photos in Post-Processing
Enhance your low-light photos effectively through strategic post-processing techniques. When dealing with low-light conditions, your images can often benefit from adjustments in post-processing to bring out details and improve overall quality.
Start by adjusting the exposure to balance the brightness and darkness in your photo. Increase the shadows to reveal hidden details without overexposing the highlights. Fine-tune the white balance to correct any color casts that may be present due to the low-light environment. Utilize noise reduction tools to minimize graininess and produce a cleaner, sharper image.
Experiment with contrast and clarity adjustments to enhance the overall sharpness and definition of your low-light photos. Consider using selective editing tools to target specific areas that need improvement, such as brightening up underexposed regions or adding warmth to cool tones. Additionally, don't be afraid to play around with creative effects like adding a vignette or adjusting the saturation to make your low-light photos more visually appealing.


